| Method: |
| |
 |
 |
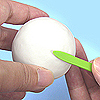
1.
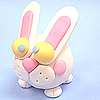
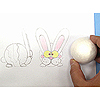
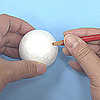
Do a sketch of the bunny for reference. Poke a hole into
the foam ball the same size as the pen you want to hold. |
 |
 |
 |
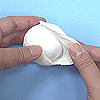
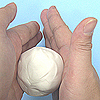
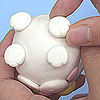
2.
Roll white clay into a sheet then wrap it around the foam
ball. Smooth out surfaces with Makin's Mallet. |
 |
 |
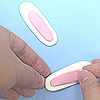 |
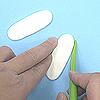
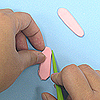
3.
Roll
white clay into two thin sheets for the ears. Cut into
shape with Makin's Mallet. Do the same with pink colored
clay. Overlap two pieces as shown. |
| |
 |
 |
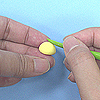
4.
Roll yellow clay into a small ball for the eyes. Cut it
into half then glue onto the ears. |
 |
 |
 |
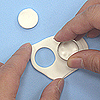
5.
Roll white clay into a thin sheet then cut out two circles
with Makin's Clay Cutter (Circle) to make muzzles. Make
a triangular nose with pink colored clay. Glue all three
pieces onto the foam ball then texture with Makin's Chisel. |
| |
|
 |
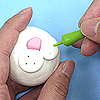
6.
Squeeze two pink colored clay balls into disks for the
cheeks then glue onto the face. |
 |
 |
 |
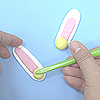
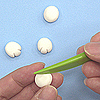
7.
Make four small balls of white clay for the feet. Texture
it with Makin's Mallet. Stick each foot onto the bottom
of the foam ball. Make another white ball and attach as
the tail. |
| |
|
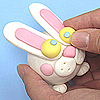 |
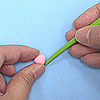
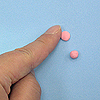
8.
Make two light blue colored clay dots for the eyes and
stick onto the bunny. |
| |
|
|
|
| Designed
by - MAKIN'S CLAY® Design Team |