| Method: |
| |
|
 |
1.
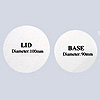
Cut out paper circles of the shown diameter. |
| |
 |
 |
2.
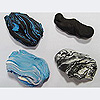
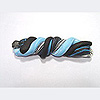
Mix one block of black and blue clay, one White and blue,
one black and white clay and one plain black clay all
together unevenly. |
 |
 |
 |
3.
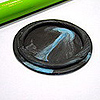
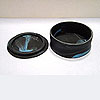
Roll the mixed clay into a sheet then cut out the circles.
Cut one long rectangle for the side of the box. Wrap the
rectangle around the base. Extrude a rope with Makin's
Clay Gun Extruder and place onto the lid. |
 |
 |
 |
4.
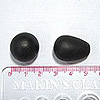
Roll black clay into a fat teardrop shape then flatten
slightly to form the shoes. Texture with Makin's Mallet. |
 |
 |
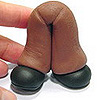 |
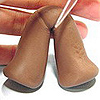
5.
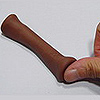
Roll brown clay into a long log with the middle being
thinner than the rest. Fold it in half then mark in the
details. Place the legs on top of the shoes. |
| |
 |
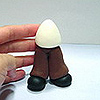 |
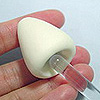
6.
Roll white clay into a cone to make the body. Hollow out
the center to fit the legs. Place the body on top of the
legs. |
| |
 |
 |
7.
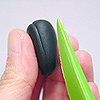
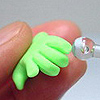
Roll neon green clay as shown to make the hands. Using
scissors, cut out the outline of the fingers. Bend the
fingers by using the short stick in Makin's Clay Mixing
Ruler. |
| |
 |
 |
8.
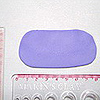
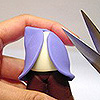
Roll lavender colored clay into a sheet. Wrap it around
the body of the clay. |
| |
|
 |
9.
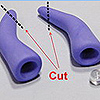
Roll lavender colored clay into two cone shapes then hollow
out the larger end. Cut the narrower end. |
| |
 |
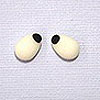 |
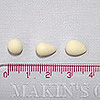
10.
Roll glow-in-the-dark clay into teardrop shapes then add
a black dot onto it to make the eyes. |
| |
|
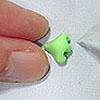 |
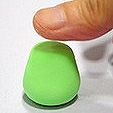
11.
Roll neon green clay into a teardrop shape to make the
nose. Indent 2 nostrils with Makin's Chisel as shown.
|
 |
 |
 |
12.
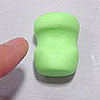
Roll neon green clay into a long blunt end shape, then
flatten slightly. Roll a groove to make the eye orbits
slightly above half of the face. |
| |
|
 |
13.
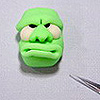
Place the eyes and nose onto the face. Press down the
brow bone and indent with Makin's Mallet. |
| |
 |
 |
14.
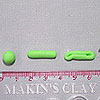
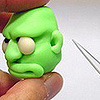
Roll neon green clay into a long rope to make the mouth.
Mark a horizontal line at the centre of the rope with
Makin's Rasp to define the lip. Slightly manipulate the
shape of mouth as shown. Mark at the corners of lip for
opening with the small stick of the Makin's Clay Mixing
Ruler. |
| |
|
 |
15.
Roll neon green clay into two teardrops for the ears then
flatten. Press the centre with the large stick of the
Makin's Clay Mixing Ruler to make the ears. |
| |
 |
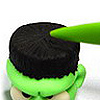 |
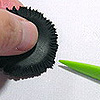
16.
Roll black clay into a sheet and cut out a circle with
Makin's Clay Cutter (Circle). Texture with Makin's Mallet.
Place onto the head then texture the clay with Makin's
Mallet. |
 |
 |
 |
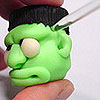
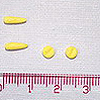
17.
Indent holes in the temples for pin insertion. Roll yellow
clay into a pin shape then press a small disk onto the
end to make a pinhead. Texture as shown then stick into
the head. |
| |
|
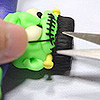 |
18.
Roll
black clay into a rope. Wet the forehead and place the
black rope on as shown to make the scar. Slightly press
with finger to flatten. |
| |
|
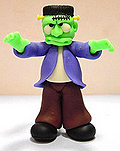 |
19.
Assemble all pieces as shown. |
| |
| Designed
by - Dorothy Chan, MAKIN'S CLAY® Design Team
|