| Method: |
| |
 |
 |
1.
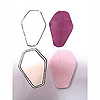
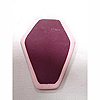
Roll light purple for the outer coffin and purple sheets
for the inner coffin. Place the patterns on top of the
clay and cut out with Makin's Mallet. Stick the two sheets
together as shown. |
| |
 |
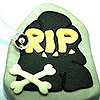 |
2.
Repeat the same steps for the tomb using gray and black
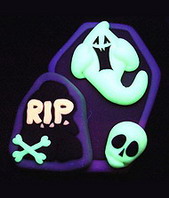
clay. Make the words and long bones by cutting out the
shapes on a glow-in-the-dark clay sheet. |
 |
 |
 |
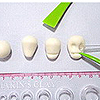
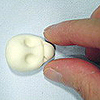
3.
Make the skull by rolling glow-in-the-dark clay into a
teardrop shape. Press the mouth with Makin's Rasp, then
indent the eye sockets with a clay pusher. Narrow cheeks
by pushing on the sides. Place black clay into the eye
sockets and nose. |
| |
 |
 |
4.
Roll glow-in-the-dark clay into a long taper shape then
mold the clay into shape according to the diagram. Shape
the hands with glow-in-the-dark clay also. |
 |
 |
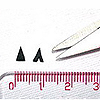 |
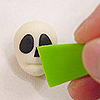
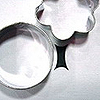
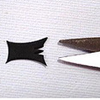
5.
Make the mouth and eyes out of a black clay sheet. Use
Makin's Clay Cutters (Flower and Circle) to cut the mouth.
Using scissors, further cut the clay. Cut out the eyes
as shown in the diagram. |
| |
|
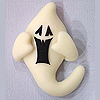 |
6.
Stick the arms and facial features to the ghost. |
| |
|
|
7.
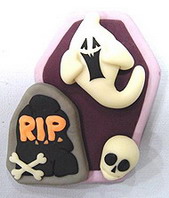
Assemble parts as shown in the finished artwork. |
| |
| Designed
by - Dorothy Chan, MAKIN'S CLAY® Design Team
|